Animal Welfare League Australia
 Animal Welfare League are a national non-profit organisation caring for companion animals across Australia. They formed in 2007, when the Animal Welfare Leagues of New South Wales, Victoria, South Australia and Queensland united to become Animal Welfare League Australia. Dogs Homes of Tasmania joined AWLA in 2010 and SAFE Inc joined in 2014. Together they have more than 300 years of combined experience in caring for animals in need.
AWL work with local councils, state government, rescue groups and the community to
improve the outcomes of stray and surrendered pets, and they are nationally recognised for their unique and innovative programs, initiatives and re-homing strategies.
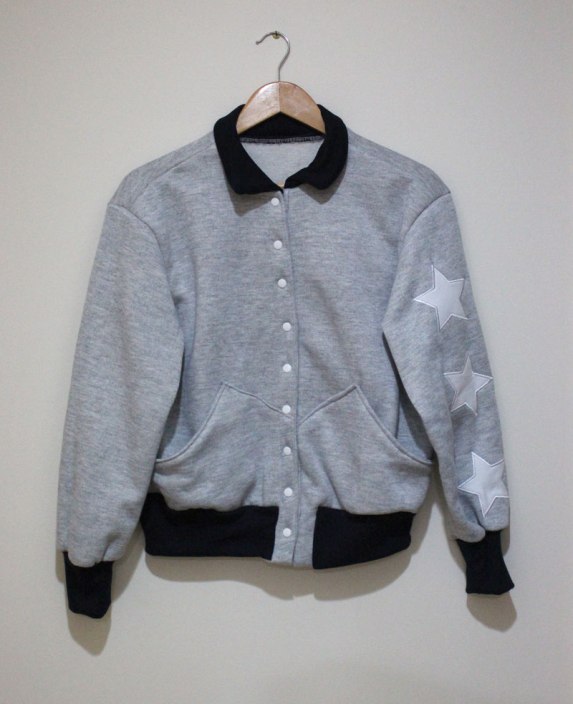
This Sewalong involves creating a number of coats for the animals housed in these shelters nationwide. They are desperate for large sized coats to keep dogs warm this winter, and thanks to Lindee Goodall who has once again sponsored our Sewalong, you can download a free “Adopt Me” embroidery design to decorate your dog coat.
Sewalong Brief
- March Sewalong will run from 1st July – 31st July, 2017
- Sewing – Sew a pet coat using your own pattern or use the free pattern below.
Embroidery – Embroider a ready-made pet coat or one you have created with the “Adopt Me” embroidery design and the Animal Welfare League (individual state) logo.
Sew Your Own Pet Coat!

This is a great beginner project if you’re interested in learning how to sew. Use one of your own dog coat patterns or you can download the free dog coat pattern, created by Martyn Smith.
Continue reading →
 Pencil cases are one of the best beginner projects because they’re fast, fun and can be easily customised. This tutorial shows you ideas on fabric types, embroidery designs, quilting styles and how to apply your own ScanNCut design.

 This month’s Sewalong is for Sunshine Coast University Hospital Queensland, who offer a range of free public healthcare services, supported by highly trained and specialised staff.


 Aussie Heroes