Project by Michelle
One of the things I really love about my Brother ScanNCut is the ability to create something unique for family and friends for birthdays and celebrations. So when my best friend’s birthday came up last month, I decided to make something special just for her.

This is a very affordable and easy gift, which you can personalise to suit your special occasion. Plus, because it’s created from sticker stock, you can stick it to a number of household items including coffee mugs, water bottles, glassware, homeware, electronics and much more!
Follow these simple instruction to create your personalised gift today!
ScanNCut Canvas
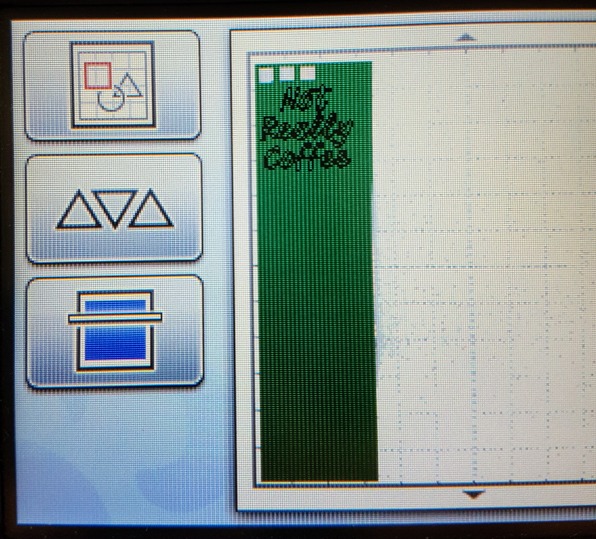
Firstly, I went into ScanNCut Canvas online software and started a new project. Here are the steps you can follow:
- Create a new project
- Select text in the left hand panel
- Choosing the font you liked the most
- Double click in the text editor and type your text – I typed ‘Not Really Coffee’ onto my screen. Also checked to see what the finishing size of your project will be so you can resize this to be the exact dimensions.

- Once you have the design finished you can now “Download” your project and save it onto a USB file to put into your ScanNCut machine.
You can purchase the ScanNCut Printable sticker sheets for this project and since it is sticker stock you can keep the text up the right way. There is no need to reverse your design. If, however, I was using something like Flex or Flock media, I would have reversed the text so that when you applied it to the surface of your project the words would be facing the right way.
It’s a great idea to also clean the outside of your mug using Isopropyl Alcohol before applying your sticker .This is basically just computer screen cleaning fluid which you can put onto a micro fibre cloth to clean the surface.

ScanNCut Steps
Place your sticker media onto a Middle Tack Mat making sure it sticks well. You can use some 505 spray directly to the media and then place it onto your mat to ensure that it sticks properly. The last thing you want is your media moving when it’s cutting out your design.

Now don’t forget to do a test cut! Even if I’m using the same media but different colours, I will always do a test cut. Cutting a small hole in the corner of your mat is a lot less upsetting than cutting a large design straight through your mat.
On my main screen I choose the ‘test’ button. I usually use the ‘square’ test and place it in the top left hand side corner of my mat. Referring to the ScanNCut Educational Binder that came with the ScanNCut machine, I go to the cheat sheet on machine settings, found on page 9. If you have to, do a few test cuts to ensure you have the correct blade settings before moving onto the next step.

Next I bring in the design. Do a scan of the mat to ensure that the design does not go over the edge of the media or into my test cuts.
Once you have design lined up on the media you can select the green ‘go’ button and cut out your design.

We now have to get rid of the excess sticker parts that you don’t need. This process is called weeding. My favourite tool for weeding is the Echy Cut Spring Action Scissors because they have a lovely sharp point to help lift the edges of the pieces.

To remove the sticker from its paper, you need some paper masking tape. Peel off enough tape to cover your design. You need to then press the tape down on top of your design to transfer the design to the tape.
Hint: If you’re design is larger than the marking tape you can overlap the masking tape together to create the right size to cover your design.

Gently peel off the sticker backing. You want your design to stick to the tape so you may need to give it a rub as you go.

Grab your mug and work out where you want your design to sit. A good idea is to check if the recipient is either left or right handed before placing your design onto it.
To avoid having to make sure the design is perfectly straight I ended up putting it on an angle. Once you have the position, start rubbing.

Now you’re done!
It’s also advised that you only hand wash your new mug, as the dishwasher may redistribute your design on to other pieces of crockery.

This will be a great project for personalising a mug for Father’s Day and for cups for my grandchildren when they visit. Thanks for the idea and the information.
LikeLike
Does it take hot water?
LikeLike
Yes, you can definitely still enjoy a hot drink – we just advise not to put the mug in the dishwasher.
LikeLike