If you’re a new or regular sewing/embroidery machine user one of the best things you can do to enhance your sewing projects is to create a sewing machine reference guide booklet. It’s simple, easy and will teach you all about your machine.
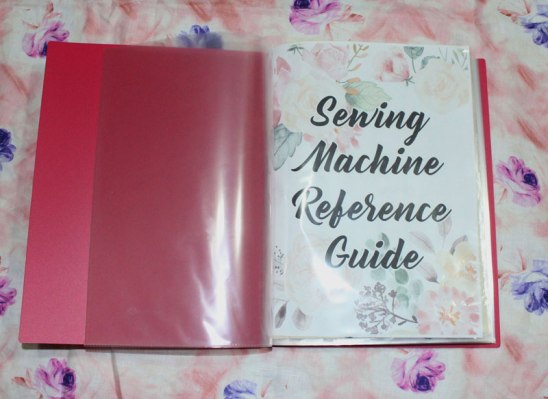


Creating a sewing machine reference guide will show you in detail what your machine is capable of and enable you to make a better use of your machine stitches and settings. Even if you’ve owned a machine for years, you’ll be pleasantly surprised by what this booklet will teach you about your machine. Plus, it makes it super easy to reference when creating those beautiful sewing projects.
What you need to create your booklet
- A4 Display book
- Calico material
- Black and cream thread
- Rotary cutter
- Quilting ruler
Print out a cover and separator page
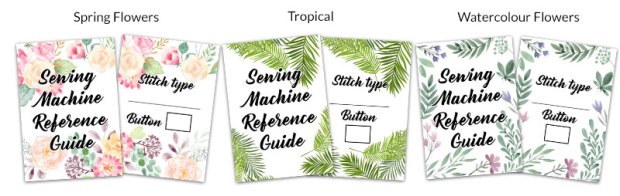
Choose a theme from one of the below designs:
- Spring flowers cover and separator (PDF, 2MB)
- Tropical cover and separator (PDF, 1MB)
- Watercolour flowers cover and separator (PDF, 2MB)
How to create your booklet
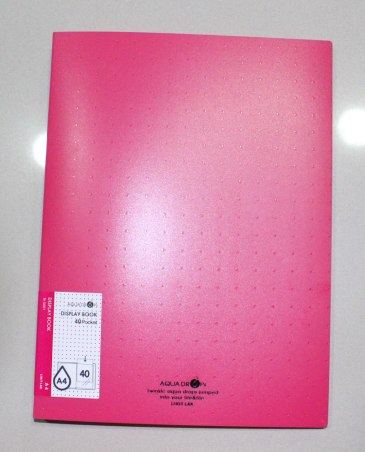
To create your booklet you will need an A4 Display Book with plastic sleeves. I purchased the binder shown below from Officeworks. These range from $5–$10.
You will also need some calico fabric, a quilting ruler and a rotary cutter. For an A4 Display book you need to cut your calico into 8″ x 11.5″ pieces so they fit inside the sleeves.
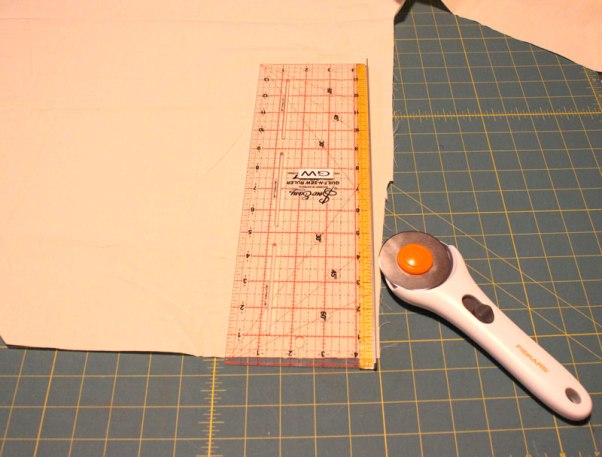
Once you have cut your calico please iron them all flat.


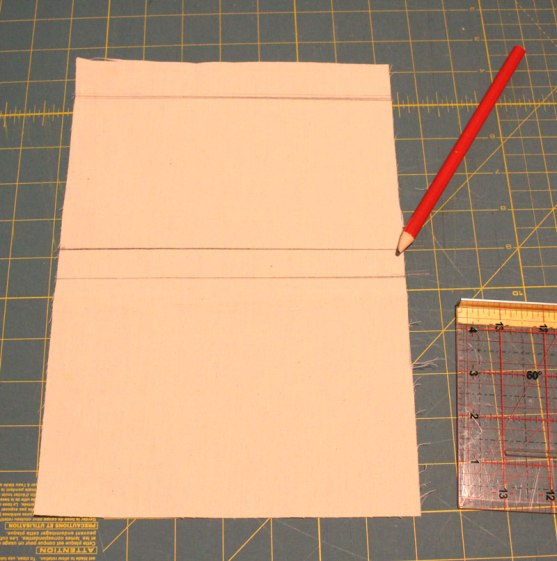
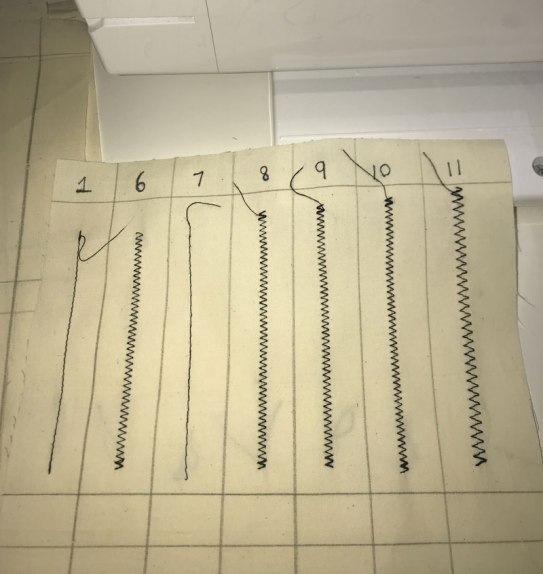
With a pencil, mark a horizontal line through the centre of the fabric. Then draw two horizontal lines, one just below the top and one below this centre line. This will allow you to place the machine stitch number (in pen) above your sewn stitches, as shown below.
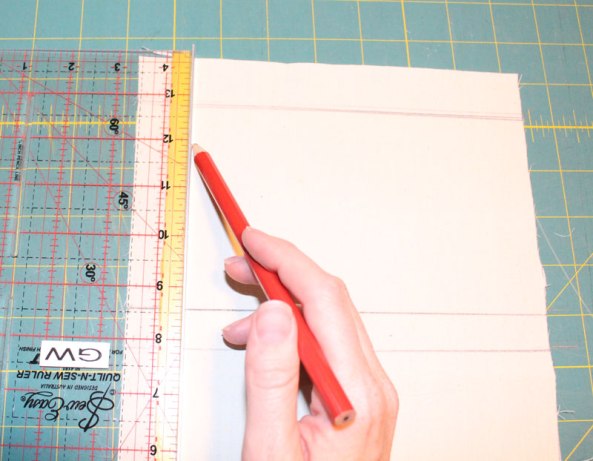
Now you can mark vertical lines from the top to the bottom of the fabric, which will allow you enough room to place your machine stitches. Approximately 2cm width will be enough to allow 10 machine stitches along the top and bottom of the A4 piece of calico.
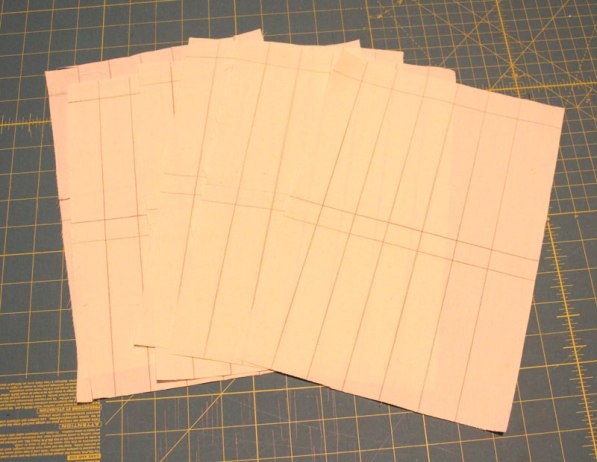
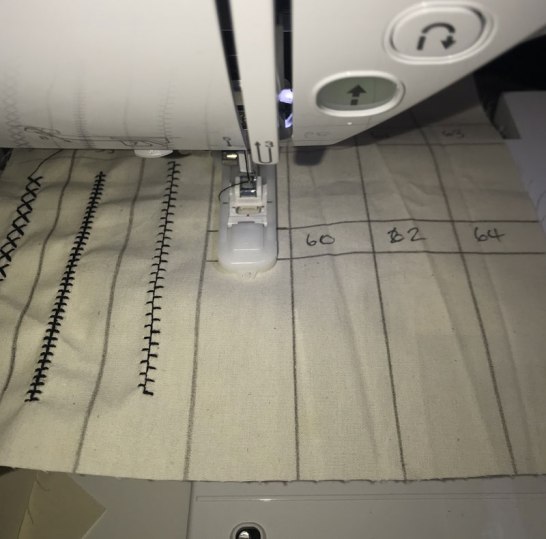
Now repeat this for a number of calico sheets, as shown below. I ended up having to cut up about 12 sheets of calico, however this number will depend on the amount of stitch options in your sewing machine.
Start from #1 in your machine stitches. It’s a good idea to use a dark colour thread like black for the top thread. Use a light colour bobbin thread to match the calico material. This will ensure you don’t see through each calico sheet to the stitches on the sheet behind when you place them inside your display folder.
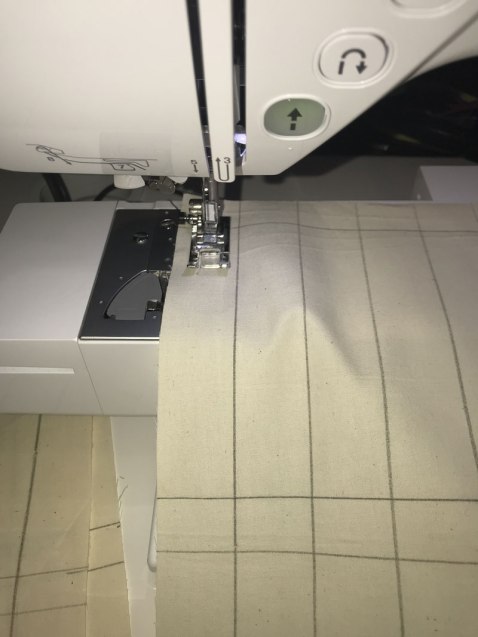
Stitch out your machine stitches until you fill your columns. As you can see below I skipped 2–5 because they were all straight stitches. You can choose to stitch out the thread numbers that you would like to see from your machine.
Once you have filled your calico page, snip off the thread bits to clean and tidy it up.
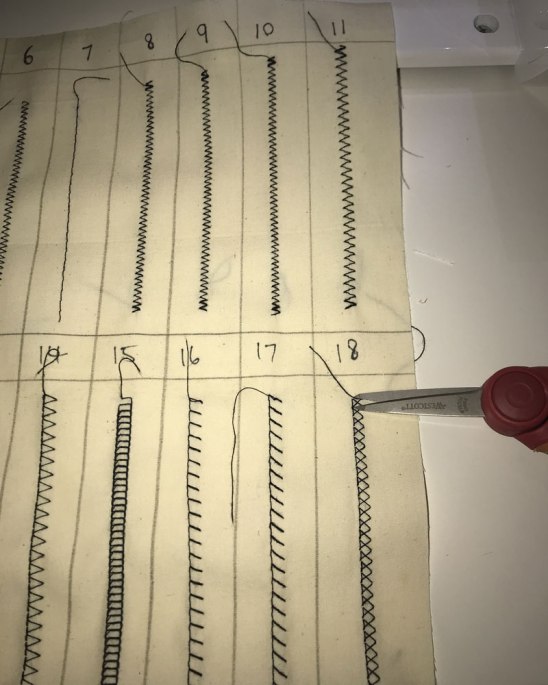
If you come to smaller items like button stitches and circle stitches you may want to divide your column in half again as shown below. This is so you can make full use of your calico page.
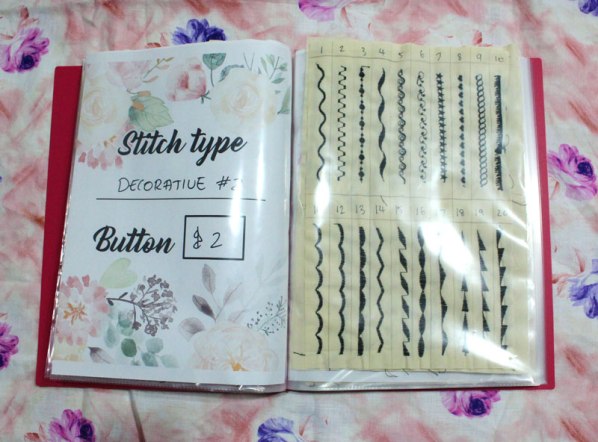
If your machine is divided up into stitch sections (e.g. decorative stitches starting from 1–80 and then another style of decorative stitch section 1–40) then I suggest you keep these separate and start a new calico sheet with each new section. You can then use the machine cover and separator sheets (available in different themes above) to clearly label your booklet as shown below.


Now you can fill the rest of the display folder up with:
- examples of your sewing techniques which you can also sew onto calico
- any how-to notes you need to print out
- your Brother machine booklet
- fabric swatches and much more!
That way you will always have your handy sewing machine reference guide to refer back to while you learn to use your machine and sew!

When you make your “sewing machine reference guide” will you make one for me to.
They do seem to be a but old fashioned at that place don’t they
Been having fun with the scannetr…one thing about this teaching is keeping me on my toes and I am learning heaps.
Could teach that guy at Gary’s a heap.
LikeLiked by 1 person
I often do test samples of stitches, width and length variations and tension adjustments prior to tackling a big or important project. The samples are kept for a while in a “sensible, easy to locate” place, and lost. This is such a sensible solution, easy to maintain and pretty to look at, plus it uses my surplus display folders! Many thanks, Jess
LikeLiked by 1 person
Excellent idea – I did start this once – on an older machine – now I have a new machine I will need to start again.
ButI would also include variations of some stitches (the ones I’d use for machine applique) – maybe the smallest width & length – the default setting – and then the largest width and length – only for some of the stitches.
LikeLike
Excellent idea!!
LikeLike
I did start one for embroidery on felt
LikeLike